 Click
on the pictures to see a larger view. Use the back (or left) arrow of your
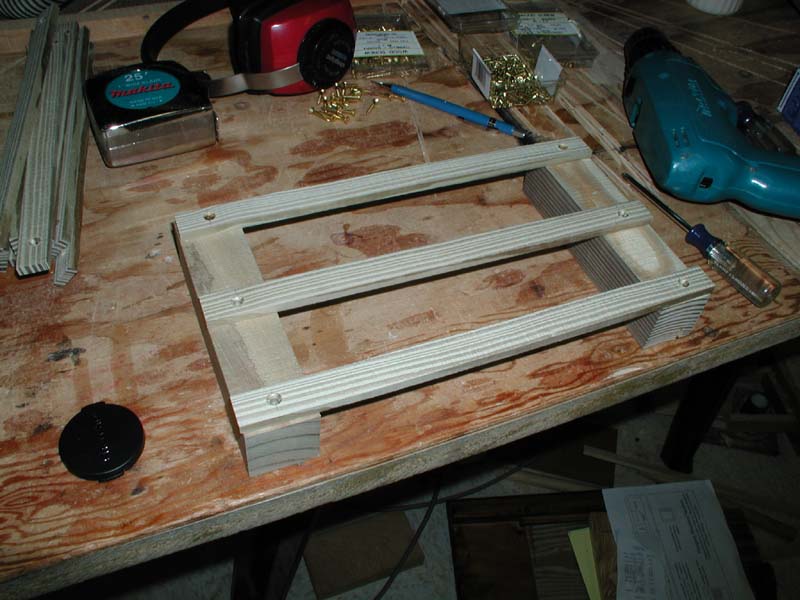
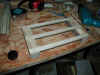
browser to come back to this page. First assemble the three horizontal
strips to two corners. Always use pilot holes and countersink for screw
heads. This will prevent the wood from splitting.
Click
on the pictures to see a larger view. Use the back (or left) arrow of your
browser to come back to this page. First assemble the three horizontal
strips to two corners. Always use pilot holes and countersink for screw
heads. This will prevent the wood from splitting.
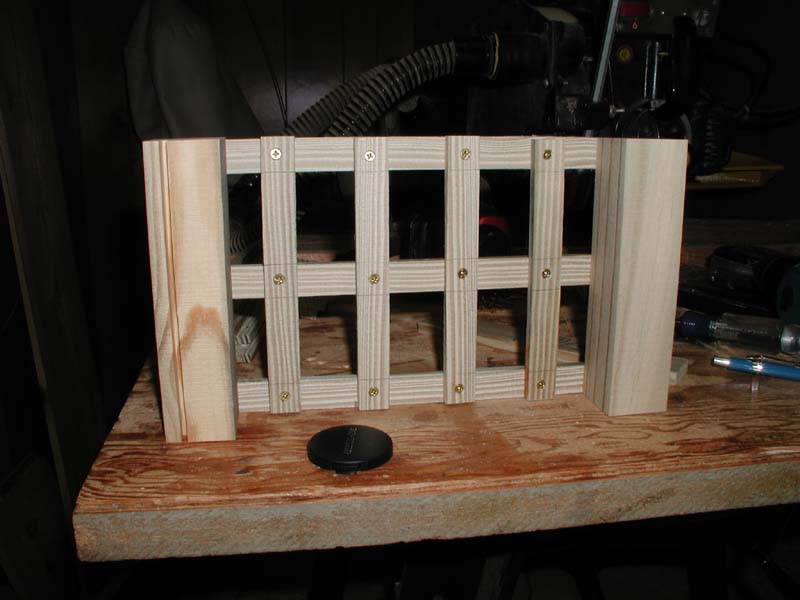
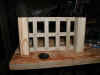 Next
assemble the vertical strips using short screws from the inside. Make sure
the groove for the Plexiglas is towards the inside (on the left leg in this
picture.) In this picture, you are looking on the inside of the side.
Next
assemble the vertical strips using short screws from the inside. Make sure
the groove for the Plexiglas is towards the inside (on the left leg in this
picture.) In this picture, you are looking on the inside of the side.
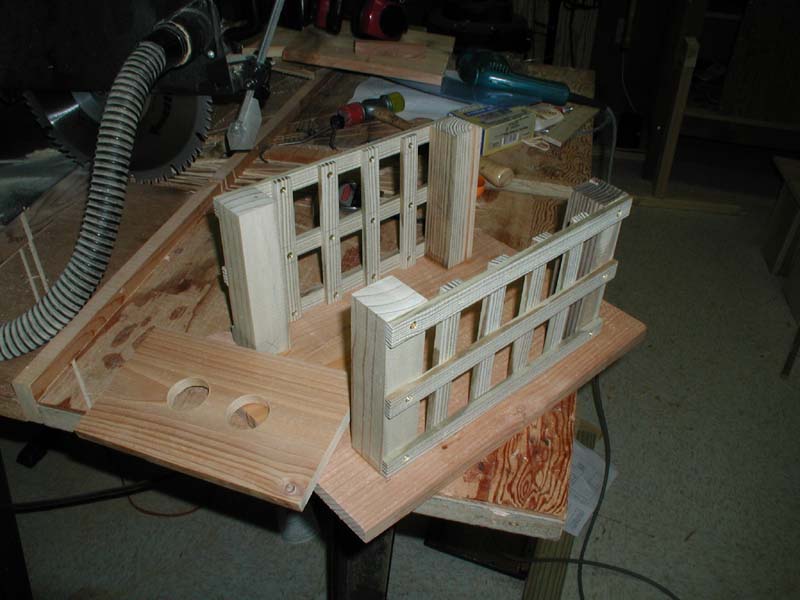
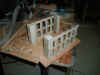 Make
the other side, then attach both sides with water-proof glue and screws to the
bottom. As usual, make pilot holes and countersink for all the screws.
Make
the other side, then attach both sides with water-proof glue and screws to the
bottom. As usual, make pilot holes and countersink for all the screws.
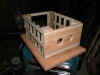 Attach
the back (with the two round holes.) Attach a strip at the Plexiglas
(front) end at the top of the posts to hold these two posts together.
Attach
the back (with the two round holes.) Attach a strip at the Plexiglas
(front) end at the top of the posts to hold these two posts together.
 Finally,
the grooved top is mounted with two hinges on the back side. Here you see
the front with the "hook and eye" for closing it securely.
Finally,
the grooved top is mounted with two hinges on the back side. Here you see
the front with the "hook and eye" for closing it securely.
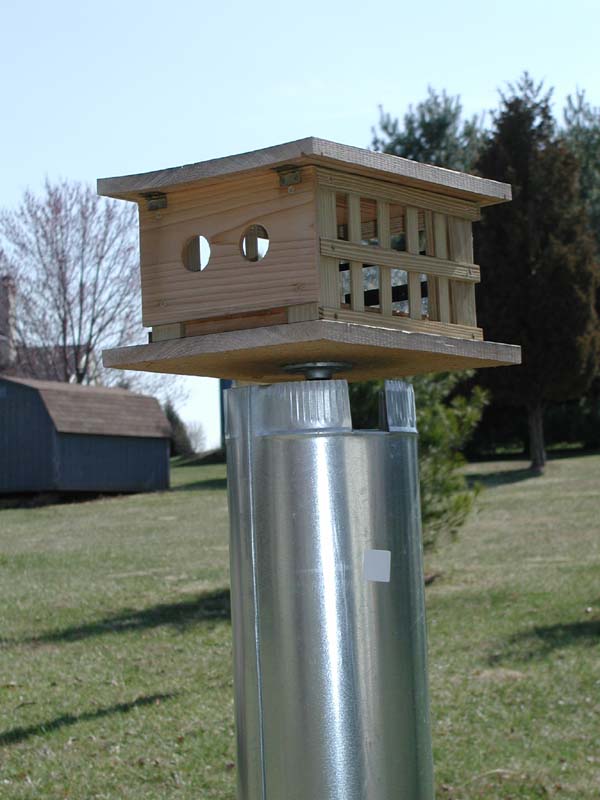
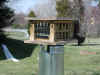
 It
is very important to protect this wood feeder from being chewed by squirrels and
other animals. Note the predator guard mounted just below the
feeder. This view also shows the hinges.
It
is very important to protect this wood feeder from being chewed by squirrels and
other animals. Note the predator guard mounted just below the
feeder. This view also shows the hinges.
I have had feeders like this
out in the open for a few years, they are still in perfect condition and
function well. Good luck! Let me know if you have any questions.
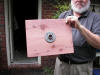 My
friends Liz and Tom Cooksey from Georgia had their neighbor Joe Haymore make
this feeder for them and they noted I forgot to mention how it is mounted. They
also sent me a picture which shows that at the bottom there is attached a
galvanized pipe flange (1/2") which would screw the feeder on top of a 1/2"
threaded galvanized pipe driven into the ground. Thank you Tom, Liz and
Joe! Click on the picture to the left to see the details.
My
friends Liz and Tom Cooksey from Georgia had their neighbor Joe Haymore make
this feeder for them and they noted I forgot to mention how it is mounted. They
also sent me a picture which shows that at the bottom there is attached a
galvanized pipe flange (1/2") which would screw the feeder on top of a 1/2"
threaded galvanized pipe driven into the ground. Thank you Tom, Liz and
Joe! Click on the picture to the left to see the details.
This feeder may (on very rare occasions) allow European
Starlings (EUST) to enter. A modification to the design can be found on
the link to EUST Problems.